Casting Plaster for Lost-wax - Part 3

The experiments so far trying to cast a block of investment plaster have been varied and I am determined to get this right. So the mix recipe is working, I am getting a smooth plaster, but when casting I need to consider the horizontal expansion especially when using rubber buckets.

Sometimes the answer can appear where you least expect it. I was taking out some rubbish to the large bin outside. The bin is shared between all the studios at the Ferrers Centre and it was almost overflowing being bin day. Sticking out the top was a collection of foam sheets, one of the studios has a Upholsterer and they must have stripped an old seat and discard the foam to replace it with new foam. Thats when I had my eureka moment, the problem with my last experiment was choosing polystyrene chips to line my bucket, but they vibrated out of the bucket, but foam would not vibrate out. I took the foam.

New plan

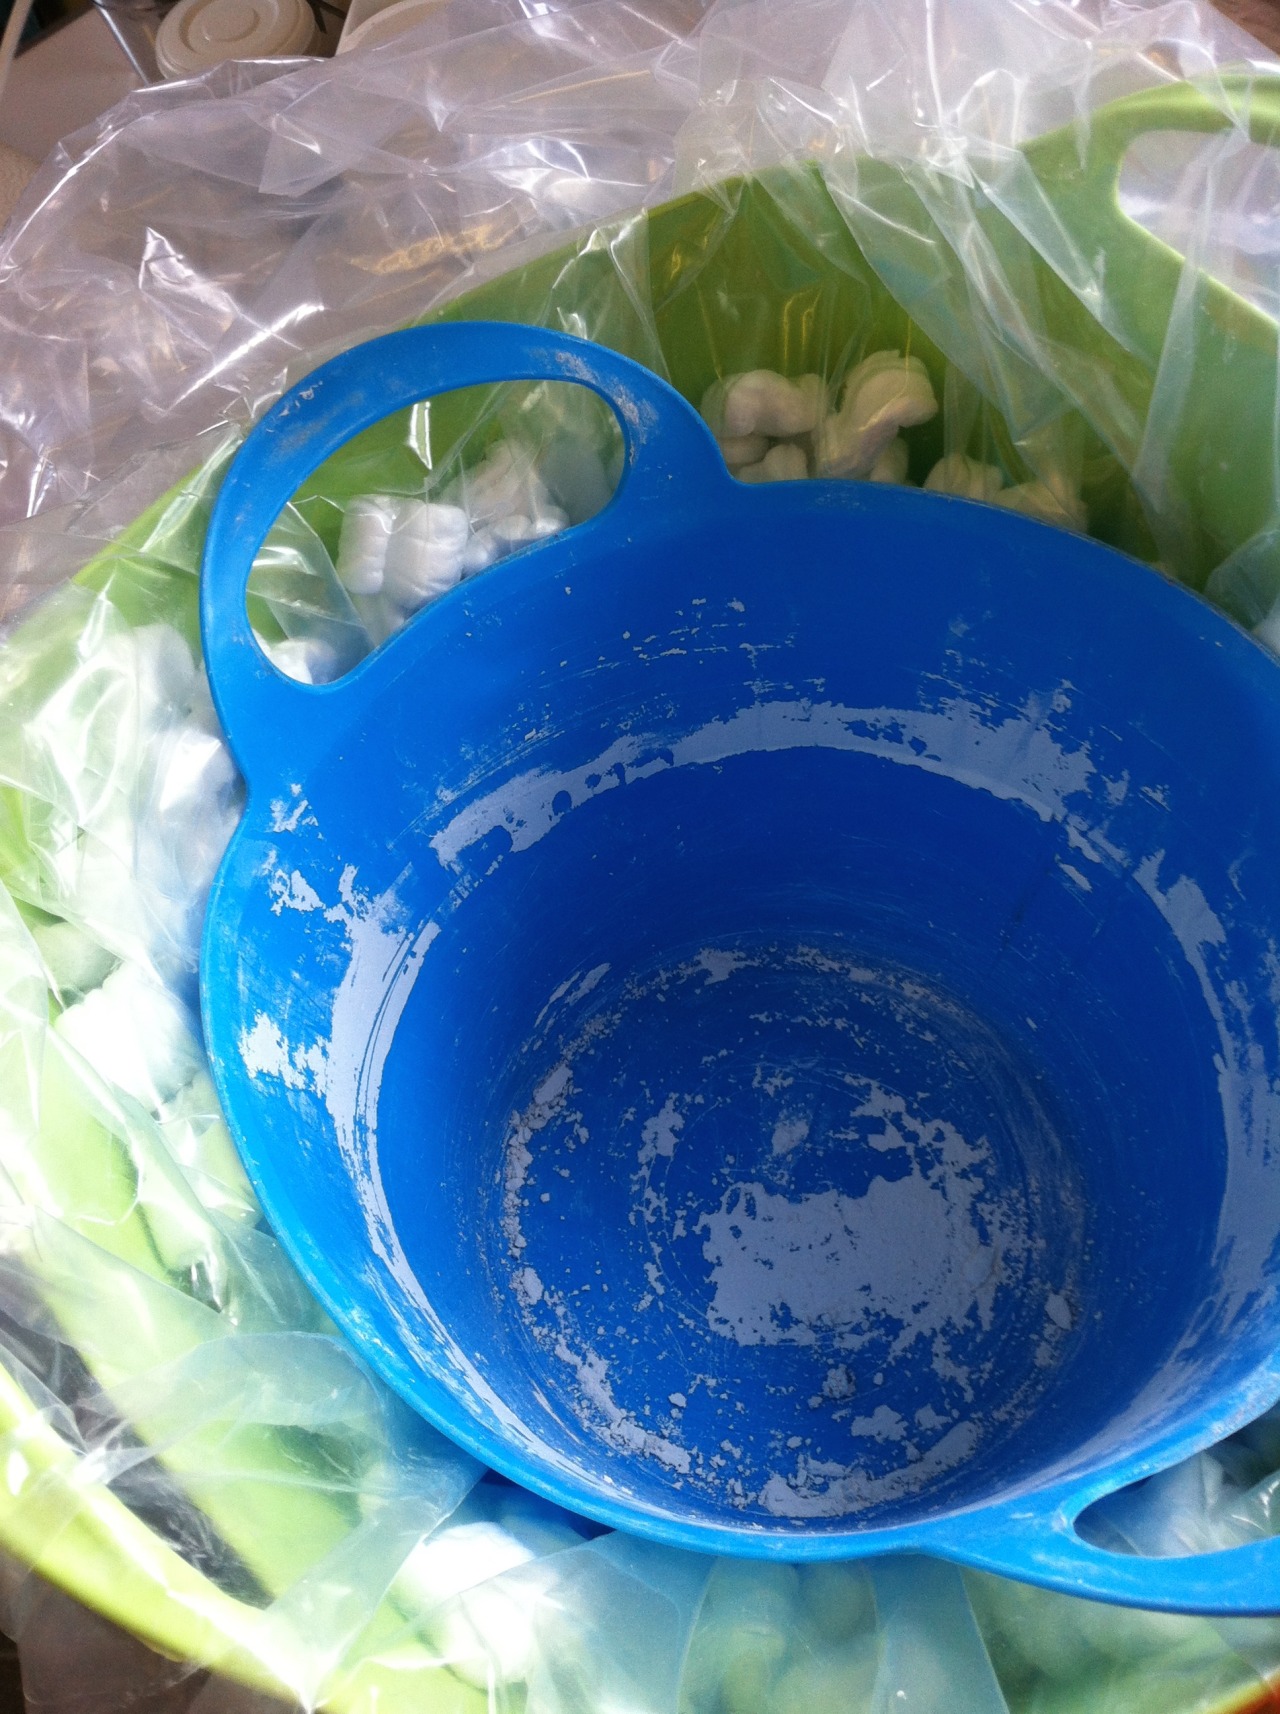
Step 1 - Line the larger bucket with sheets of upholstery foam, then line with polythene sheeting

Step 2 - Pour in the plaster mix, vibrate and leave to set

I have now lined my bucket with the sheets of foam and lined it with plastic, easy so far. I have mixed up a batch of plaster and poured it into the prepared bucket and placed it on the vibrating plate.

Success! the vibrating does not dislodge the foam and it is working so far. Just go to wait 2 hours until its set to see if my plan has worked. 

Fingers crossed 

Negative and positive space within sculpture

I wanted to experiment with the positive and negative space of the new work, but not be able to see the negative space is difficult to visualise how this would work.

It’s hard to look at the weave and not see how it will look when the plaster is no longer there. Being able to visualise the finished piece is becoming more and more difficult.

If I can’t see the negative space or void in the sculpture how will I know that it creates an interesting juxtaposition with the positive or the woven surface of the sculpture?

Do I weave and hope that it works when cast? There must be a method of allowing me to experiment with this combination without waiting until the work has been cast.

Weaving onto plaster. Part 2

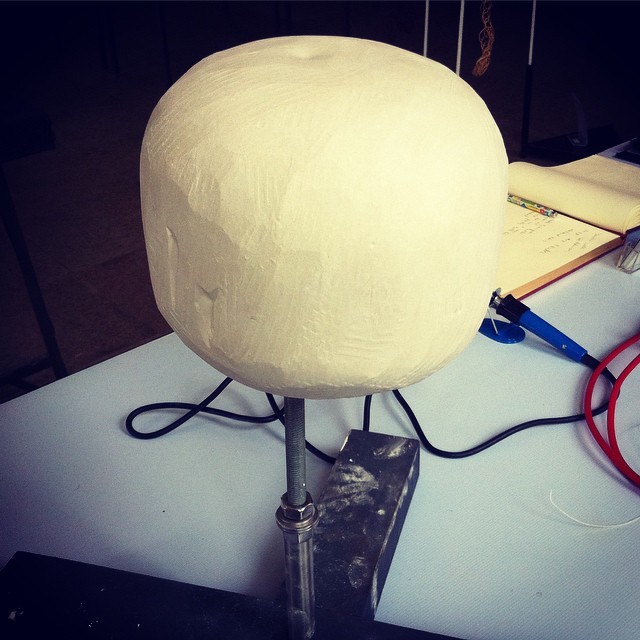
After looking at the experiments no’s 53,54 & 55, I thought I would try a different shape and created Woven Experiment No.56.
Firstly the wider hole has worked well in allowing me to be able to pass the weave through the plaster more successfully. The convex shape is giving a snug fit to the weave, but the weave is not working over the pointed ends of the plaster shape so this would be lost in the casting. Does the loss of the points matter?

The smooth and texture of the plaster and weaving is looking good but the plaster won’t be in the new work and will leave a void. Could a multi textured sculpture be achievable? Could a smooth was be applied to areas of the plaster form and then a textural woven wax applied over the top?
Maybe a very simple convex shape would work for a basis for an application of smooth wax then pattern and shapes added with a texture.
This would make an interesting combination of rough and smooth, combing the two textures that visitors have enjoyed experiencing.

Results of weaving onto plaster forms

Weaving Experiment No.53 - the opening is very small in the centre and very difficult to get my hand into the form to apply the weaving. Also the small gap in the centre could be an area that an air bubble could become trapped when the work becomes invested ready for casting. I think I should discuss this further with the foundry.

Weaving Experiment No.54 - This is not working, the weave is not sitting into the concave areas of he plaster carving. I could potentially drill a series of fine holes through the plaster and pass fine cotton through as a way to pull the weave into the concave areas and hold it tight against the plaster surface. The tiny holes, however could allow air to be trapped and this may cause explosions in the casting process.

Weaving Experiment No.55 - Success! The shape has worked very well with the weaving applied over the surface and a taught weave was achieved. Thick areas could be created, fine open areas could also be applied that fits snugly against the plaster surface.

Moving forward, if a hole is within the design it should be large enough to allow the weaving to easily pass through the and also to allow fingers to be able to work in the void.
Shapes should be convex and not concave as the weave will not pick this up, unless I can find another method of weaving wax onto a concave area.