Your Custom Text Here
Introducing a new texture and a new wax
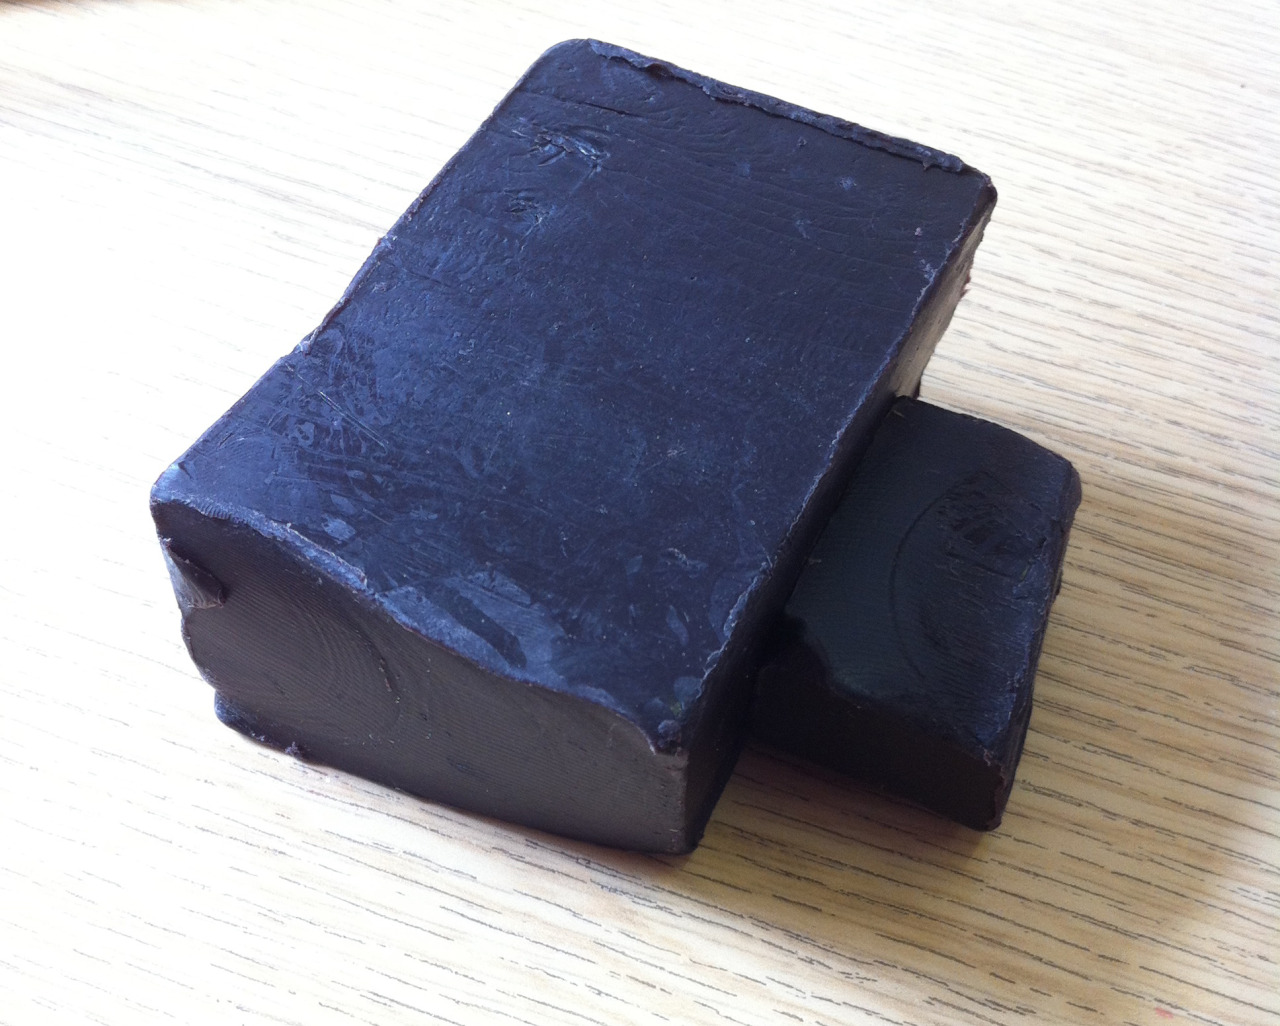


Introducing a new texture and a new wax.
The new wax that comes in a solid block works very differently from the red wax and much more like a polymer clay than a wax.
My first attempt at applying it was to pull of small sections from the block and apply it directly to the plaster core like building up an area of clay work. This didn’t work, I tried smoothing each of the pieces to adhere it to the first but the dusty surface of the plaster core prevented it from adhering and instead the back of the wax became covered in a powdery residue.
My next attempt was slicing it down into smaller sections and warming it up in the palm of my hand until it was able to be pinched and pushed into a small slab. When the wax slab was placed onto the core it still did not stick to the plaster but it did stick to the waxed thread.
With the next slice I warmed and flattened a larger piece and this, when applied to the core, stuck to more than one guide line of waxed thread and adhered much more successfully.
Casting Plaster for Lost-wax - Part 1
My research into solid body casting has reached the final stage and I am now ready to start creating the final works in wax. Before I can begin the wax weaving I need to create my plaster cores from blocks of investment plaster, carve them into the required shape and fit a metal arm through the centre of each block.
The plaster suppliers and the foundry suggested a 38% plaster/water ratio but this recipe seemed to me to be too much plaster and not enough water. After careful working out it seems that this ratio of 100% powder to 38% water is the mix favoured by the foundry for their investments, so it must be correct. I still have my doubts as I generally use a 50% mix when casting my fine casting plaster blocks for carving.
The technical data sheet also suggested a water temperature of 20-30°c and a mixing time of 8-10 minutes and a setting time of 10-15 minutes.
I carefully measured out my water and made sure the temperature was between the desired temperatures, then began adding the plaster using the sifting method of gently scattering the plaster onto the surface of the water. When 2/3rd’s of the way through the measure of plaster, peaks began forming on the surface of the water, which generally means the water can’t take any more plaster, but I still had plaster left over. Deciding to stick to the provided recipe I continued sifting more plaster until I had added the required amount and it now sat upon the surface of the water and did not want to be absorbed.
Stirring the plaster to combine the water and plaster fully was very difficult and was the consistency of thick porridge, but after 2 - 3 minutes of stirring the plaster did become smoother and resemble a thick custard.
To remove the bubbles I placed the plaster mix on my new vibrating plate (or as readers of my blog will have read, my fat busting weight loss machine) for 5 minutes of vibrating to bring any bubbles to the surface.
After vibrating I left the plaster to set for 2 hours as suggested, thats when the problems occurred.
Unbeknown to me, as the plaster was setting it began to expand slightly, this would be fine if it had expanded vertically into the empty space in the bucket, but no, it expanded horizontally. The buckets I use for casting are rubbery so that it is easy to remove the plaster once set, but this new plaster pushed the sides of the bucket, which being rubbery stretched with the plaster. When I turned the bucket over after 2 hours of setting time and gave it a few knocks with the mallet and was surprised that it didn’t fall out as the fine casting plaster blocks usually do. This is when I noticed the slightly bulging sides and realised the plaster was not going to simply fall out of the bucket but was well and truly stuck!
After chiseling away at the sides for what seemed like ages, did the plaster finally give way and come out of the bucket. The bucket being rubbery simply went back to its original shape, but now I have a problem. I have a collection of different sized rubber buckets for casting and this new plaster is going to expand and thus get stuck.
I need to figure out a method of using my rubber buckets but prevent them from stretching.
Metal Casting With Precision - Paul Withey, Casting Specialist For Rolls Royce - The Naked Scientists
During my ongoing research into direct lost wax casting I came across this article featuring an interview with a casting specialist at the #Derby branch of #RollsRoyce showing their own methods of using the ancient casting technique of lost wax casting, a fascinating read.
I would love to visit Rolls Royce as they are only five minutes away and see this in person!
Weaving onto plaster. Part 2
After looking at the experiments no’s 53,54 & 55, I thought I would try a different shape and created Woven Experiment No.56.
Firstly the wider hole has worked well in allowing me to be able to pass the weave through the plaster more successfully. The convex shape is giving a snug fit to the weave, but the weave is not working over the pointed ends of the plaster shape so this would be lost in the casting. Does the loss of the points matter?
The smooth and texture of the plaster and weaving is looking good but the plaster won’t be in the new work and will leave a void. Could a multi textured sculpture be achievable? Could a smooth was be applied to areas of the plaster form and then a textural woven wax applied over the top?
Maybe a very simple convex shape would work for a basis for an application of smooth wax then pattern and shapes added with a texture.
This would make an interesting combination of rough and smooth, combing the two textures that visitors have enjoyed experiencing.


Investment of the woven wax sculpture
The woven wax sculpture is now in the safe hands of the experts of Pangolin Editions down in Stroud, were they are working their magic turning the wax into bronze. I will be posting images as the process progresses, the first batch following this post are of the initial investment process were the wax is first sectioned with thin walls of metal. The metal walls will aid the sculpture being split down into sections just like breaking a Chocolate Orange! As the wax sculpture has been woven at full size and the weave is so intricate they will be using the vacuum chamber to draw the moulten bronze through the voids in the cast.
Once the metal walls are in place the wax is covered with a casting material to create the hard shell around the wax, this will go in the kiln and heat up to a high enough temperature that the wax will melt out of the cast.