Exhibition of student work

tumblr_nnw8wxT94R1uulgpuo1_1280.jpg
tumblr_nnw8wxT94R1uulgpuo2_1280.jpg
tumblr_nnw8wxT94R1uulgpuo3_1280.jpg

twelve-exhibition:

ELYSE BENNETT - ‘BETWEEN’

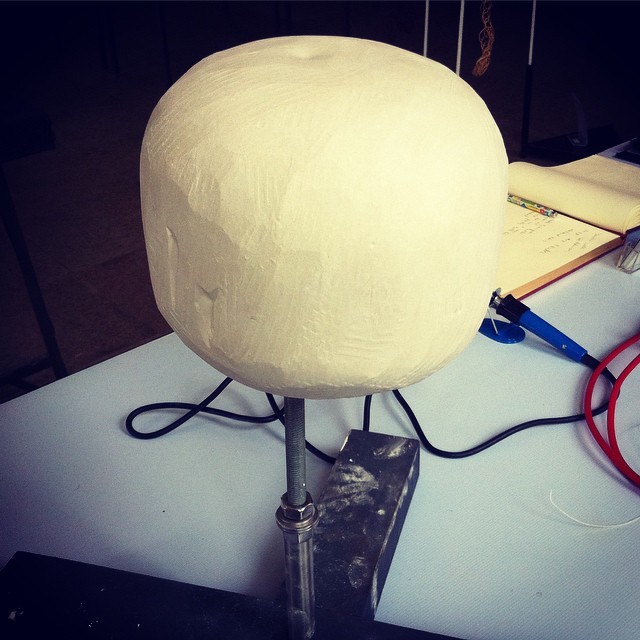
The work consists of a number of plaster casts of varying shapes and sizes that are intended to represent the buildings in and around Derby city centre. The composition examines the spaces and layouts of the streets, as well as the feelings evoked when walking down a typical street within Derby. Based on local architecture, my work provides a fragmented reinterpretation of the city, creating a personal response to my surroundings.

The casts have found elements added within them, which make a direct connection to the site and the construction of the buildings: slate, stones, concrete, metal, steel rods and brick have been added to the casts.

I am inspired by architecture and the way simple forms interact to create a sense of space, a sense of something which isn’t necessarily seen, but felt. I consciously work with negative space as much as I do positive space, which I feel helps to inspire this feeling of presence within my work.

WEBSITE: http://elysebennettfineartblog.tumblr.com/
CONTACT: elyse.bennett11@hotmail.com 

I visited the opening of the second year Fine Art students show this evening and particularly enjoyed this piece, a great show in a fantastic venue

Casting Plaster for Lost-wax - Part 3

The experiments so far trying to cast a block of investment plaster have been varied and I am determined to get this right. So the mix recipe is working, I am getting a smooth plaster, but when casting I need to consider the horizontal expansion especially when using rubber buckets.

Sometimes the answer can appear where you least expect it. I was taking out some rubbish to the large bin outside. The bin is shared between all the studios at the Ferrers Centre and it was almost overflowing being bin day. Sticking out the top was a collection of foam sheets, one of the studios has a Upholsterer and they must have stripped an old seat and discard the foam to replace it with new foam. Thats when I had my eureka moment, the problem with my last experiment was choosing polystyrene chips to line my bucket, but they vibrated out of the bucket, but foam would not vibrate out. I took the foam.

New plan

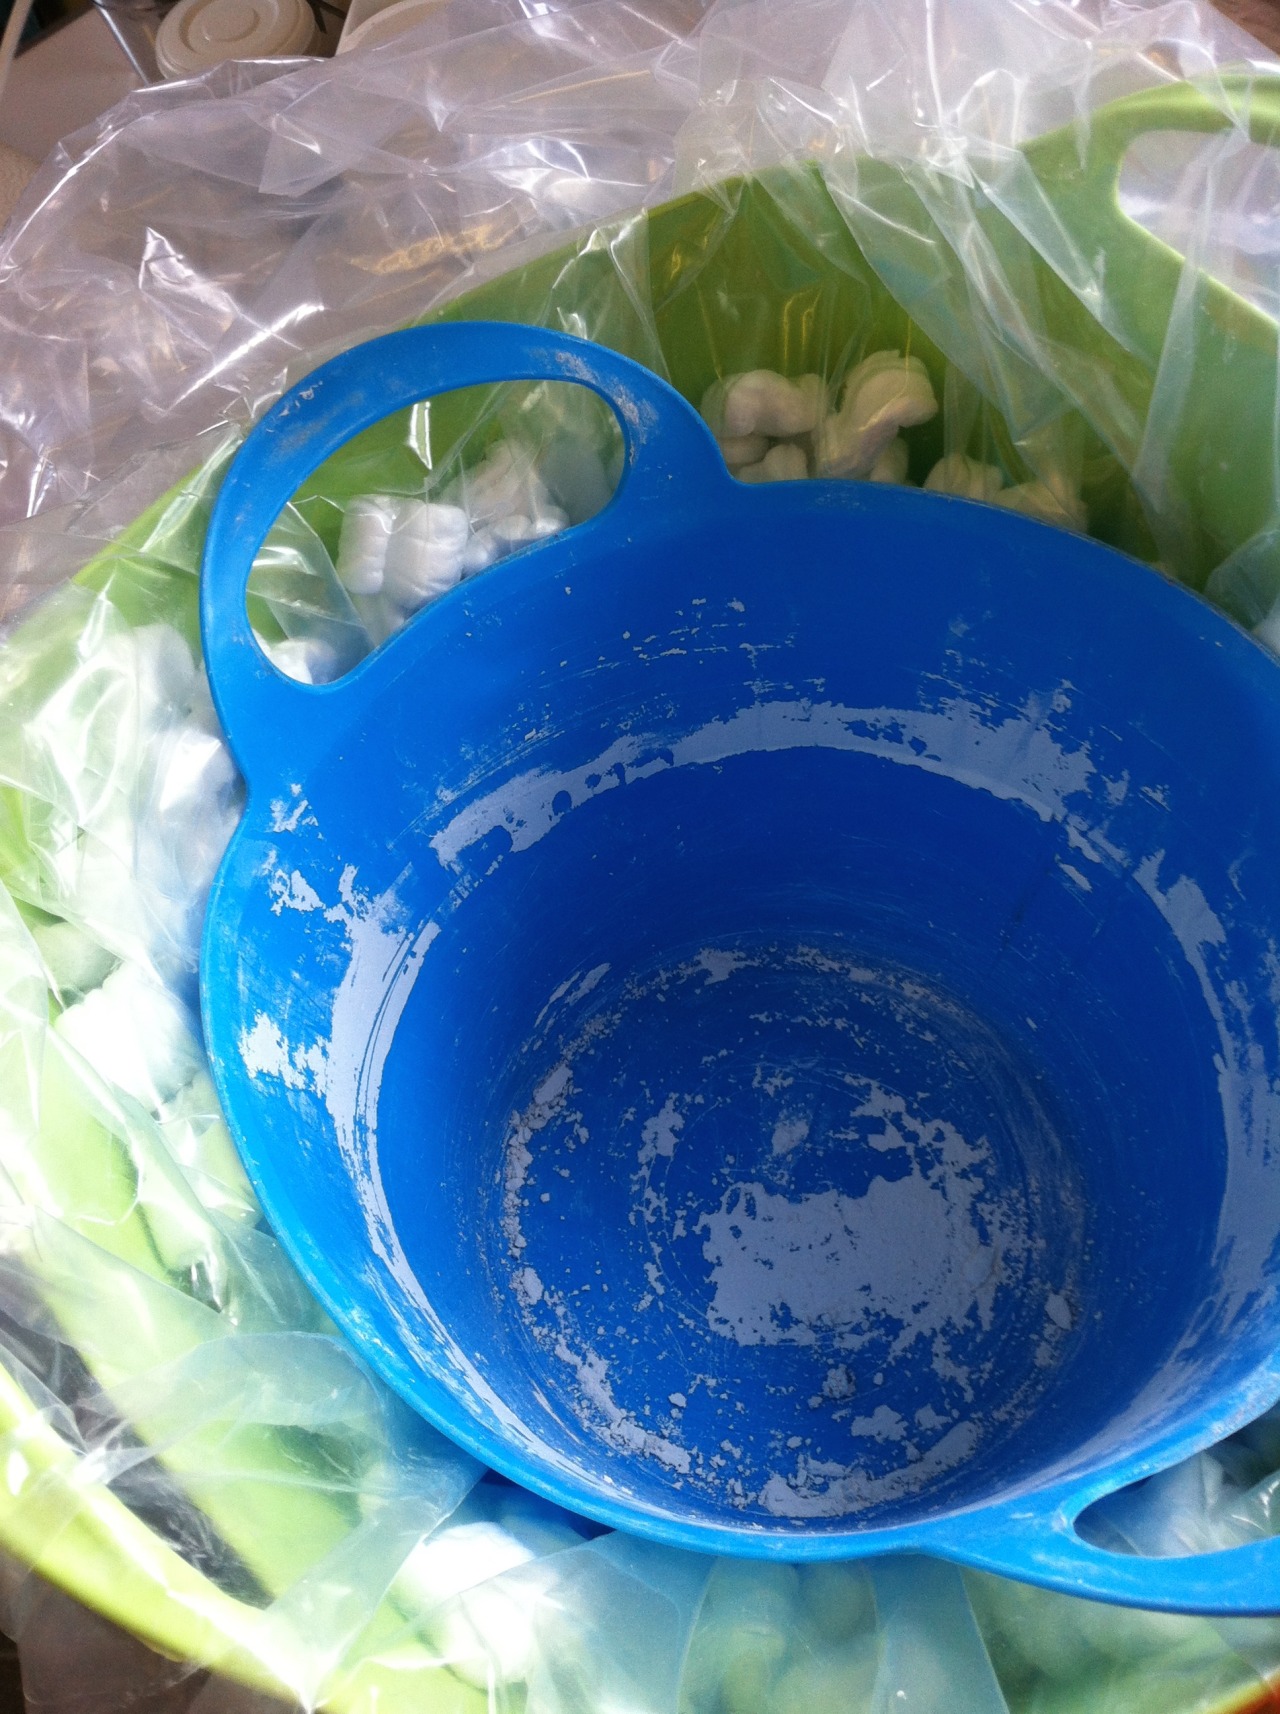
Step 1 - Line the larger bucket with sheets of upholstery foam, then line with polythene sheeting

Step 2 - Pour in the plaster mix, vibrate and leave to set

I have now lined my bucket with the sheets of foam and lined it with plastic, easy so far. I have mixed up a batch of plaster and poured it into the prepared bucket and placed it on the vibrating plate.

Success! the vibrating does not dislodge the foam and it is working so far. Just go to wait 2 hours until its set to see if my plan has worked. 

Fingers crossed 

Casting Plaster for lost-wax - Part 2

After some careful thought I now had a plan of how to cast the investment plaster blocks in a rubbery bucket without the sides expanding and the plaster becoming stuck.

Idea - Line the sides of the bucket with polystyrene packing chips and plastic.

Using a slightly larger bucket this time, I prepared for my next batch of investment plaster.

Step 1 - Line the bucket with a sheet of thick polythene then pop in a smaller bucket inside so that the polythene is trapped between two buckets.

Step 2 - Carefully fold the polythene sheet over the edge and into the inner bucket to leave a small gap around the inner bucket.

Step 3 - Fill the small gap with packing chips with the idea that when the plaster expands horizontally it will squash the chips and not stretch the bucket.

Step 4 - Carefully unfold the polythene sheet out of the inner bucket and over the sides of the outer bucket, and slowly remove the inner bucket leaving behind a bucket lined with chips and polythene sheeting.

Step 5 - Pour the plaster mix into the bucket and vibrate to remove the bubbles.

Step 6 - Leave to set for 2 hours, then simply lift the polythene sheet out of the bucket which should pull out the plaster block with it, simple?

Well it sounded like a good plan at the time and it all went smoothly until step 5, once the bucket was placed on the vibrating plate and it was switched on all the plaster chips vibrated up the side of the bucket and escaped over the top.

After the 5 minutes of vibrating was over I had to swiftly collect all the escapees and squash them back into the bucket trying not to disturb the plaster.

This method did however have some degree of success, once the plaster was set it was very easy to lift the cast block out of the bucket using the polythene sheeting. Take a look at the pictures, the sides of the plaster look great but unfortunately they will need to be carved away. 

There must be a better method than this, something that can be squashed but doesn’t shake out of the bucket.

Casting Plaster for Lost-wax - Part 1

My research into solid body casting has reached the final stage and I am now ready to start creating the final works in wax. Before I can begin the wax weaving I need to create my plaster cores from blocks of investment plaster, carve them into the required shape and fit a metal arm through the centre of each block.

The plaster suppliers and the foundry suggested a 38% plaster/water ratio but this recipe seemed to me to be too much plaster and not enough water. After careful working out it seems that this ratio of 100% powder to 38% water is the mix favoured by the foundry for their investments, so it must be correct. I still have my doubts as I generally use a 50% mix when casting my fine casting plaster blocks for carving.

The technical data sheet also suggested a water temperature of 20-30°c and a mixing time of 8-10 minutes and a setting time of 10-15 minutes.

I carefully measured out my water and made sure the temperature was between the desired temperatures, then began adding the plaster using the sifting method of gently scattering the plaster onto the surface of the water. When 2/3rd’s of the way through the measure of plaster, peaks began forming on the surface of the water, which generally means the water can’t take any more plaster, but I still had plaster left over. Deciding to stick to the provided recipe I continued sifting more plaster until I had added the required amount and it now sat upon the surface of the water and did not want to be absorbed. 

Stirring the plaster to combine the water and plaster fully was very difficult and was the consistency of thick porridge, but after 2 - 3 minutes of stirring the plaster did become smoother and resemble a thick custard.

To remove the bubbles I placed the plaster mix on my new vibrating plate (or as readers of my blog will have read, my fat busting weight loss machine) for 5 minutes of vibrating to bring any bubbles to the surface.

After vibrating I left the plaster to set for 2 hours as suggested, thats when the problems occurred.

Unbeknown to me, as the plaster was setting it began to expand slightly, this would be fine if it had expanded vertically into the empty space in the bucket, but no, it expanded horizontally. The buckets I use for casting are rubbery so that it is easy to remove the plaster once set, but this new plaster pushed the sides of the bucket, which being rubbery stretched with the plaster. When I turned the bucket over after 2 hours of setting time and gave it a few knocks with the mallet and was surprised that it didn’t fall out as the fine casting plaster blocks usually do. This is when I noticed the slightly bulging sides and realised the plaster was not going to simply fall out of the bucket but was well and truly stuck!

After chiseling away at the sides for what seemed like ages, did the plaster finally give way and come out of the bucket. The bucket being rubbery simply went back to its original shape, but now I have a problem. I have a collection of different sized rubber buckets for casting and this new plaster is going to expand and thus get stuck. 

I need to figure out a method of using my rubber buckets but prevent them from stretching.