Your Custom Text Here
Initial testing of the flexibility of the blue wax was varied, it worked well to create a 12 inch circle but needed a lot of careful movements as the wax was a little brittle.
Some of the thicker sections snapped very easily, but all these problems could be due to the studio being extremely cold.
Moving forward I think I need to sort out a warm working environment so the wax can perform better and perhaps this will reduce the breakages.
So next week, I will be building a temperature controlled space with my studio to see if that works better.
The wax withie samples finally arrive at the studio for testing. The mould has captured the small leaf buds on the willow but the bark texture isn’t very visible.
I have placed a willow branch along side the wax withie for comparison.
Final corn dolly weave with red wax is an expanding weave, cant wait to get these cast in bronze to see how they work as woven bronze.
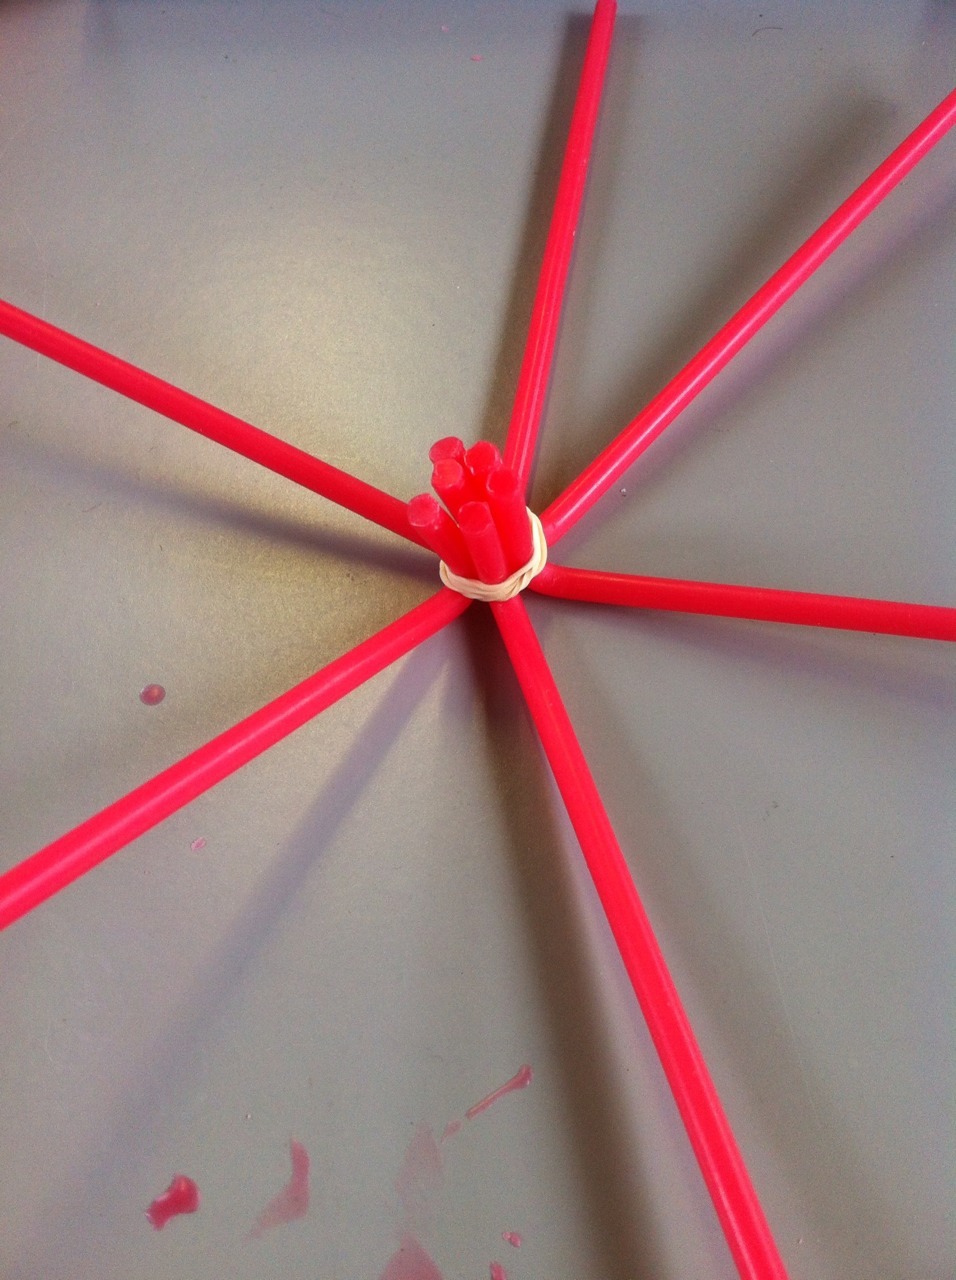
The red wax is only 4mm thick so quite delicate, but it worked very well with weaving as it has a lot of malleability and doesn’t snap. Also important is memory of the weaving materials, or to put it another way, it needs to stay put once woven and the red wax did just that.
I purchased a variable heat wax carver too, to see if I could join to sections of wax together. This didn’t work so well, each time I melted and adhered two pieces together and then tried to weave it, the joints snapped apart.
The next step was to try and weave without joining sections and then meld them together once weaving was completed, this worked but was extremely difficult to try and hold all the pieces and weave at the same time.
Woven Bronze Sculpture cont..
As discussed in my earlier post, my freshly cut willow withies were sent to the foundry and used to create a mould for wax injection, well it has been used for the first time this week and the first batch of wax willow withies are in the post as we speak.
In preparation of the arrival of the withies I ordered some small lengths of red wax to try out a few weaving techniques.
Check out the images to follow of woven red wax.
As you continue working anti clockwise keep turning your weaving over to check how the structure is developing, this will help inform you if you need to bring the structure in by placing the paper on top of the next tube or expand the shape by placing the paper tube alongside the next.
It can be a little tricky to master expanding and retracting shapes and you may need a few attempts.
To weave and expand out the shape place the weaving paper tube on the outside of the next tube.
To weave and bring in the shape place the weaving paper tube on top of the next tube.
Start with five strands and weave each strand one once around the neck as shown in the earlier lesson.
Pass the paper tube over and under the next paper tube so that it lays parallel with the next paper strand.
Pick up the paper tube that has just been wrapped and move it to the next paper tube and pass over and under.
Continue weaving one strand at a time passing it over and under the next strand in an anti clockwise rotation.


